Wednesday 14 September 2016

Paint & Assembly

With a month and a half past check in, it's time for the best part of them all. We get to paint some.

The color is original Silverstone Metallic.

Headlight stays and radiator holder not ideal, but will do for now

Sunday 4 September 2016

Cabbage

Here's a reminder of the flow, after getting rid of a quadrillion layers of paint. Put some epoxy primer to protect the car from rust. As far as I heard, nothing gets past this first layer (like vapors or solvents, not gamma rays, I mean), and it's important to get it right.
Bare metal in the chamber for epoxy treatment
Sanded to the metal, ready for first layer bodywork
Epoxy primer
Epoxy primer
Anti-corrosive epoxy treatment on the doors
Same thing on the wings
So this gave me an idea,
but had to give up on it because I live in a stone age country

This first layer is sanded out until you can almost see the bare metal again, but be not alarmed: the epoxy is there. Then a layer of fiberglass/body filler is smeared on and the process of sanding is repeated. The function of this layer, as its other name suggests, is to even out the surface, cancelling the biggest irregularities and dimples.
After rust treatment it is time for some fiberglass
Fiberglass body filler applied
Fiberglass layer is sanded out (top)
After fiberglass hardens it's sanded well
Next step is to spray a layer of univeral body filler, which takes care of small scratches, nicely evening out the surface. After spraying, you probably guessed it: sand again. At this point, some folks can't resist the urge to stroke a fender or a door.
The univeral body filler after sanding
Another layer of epoxy primer is sprayed, then, sanded, after which a layer of polyester should be applied.

Polyester primer on fender
Polyester primer on door
The interior parts are dealt with just as painstakingly
Then it's sanding again. Then it's another layer of epoxy primer. All these layers, except for the fiberglass, are very very thin: hundredths of a millimeter.

It is now time for the 2k primer. This one looks glossy.
The writings have an actual use, aside from grafitti practice
Anyone recognize this rear fender?
Sanding time.
Sanded 2k primer on the rear left wing
Sanded rear right wing after 2k primer
It is now only that the car is ready for actual paint, but that, my friends, in another post, another day. Here's a picture of me though, until then:

Thursday 25 August 2016

One Month (Un-tension Cable)

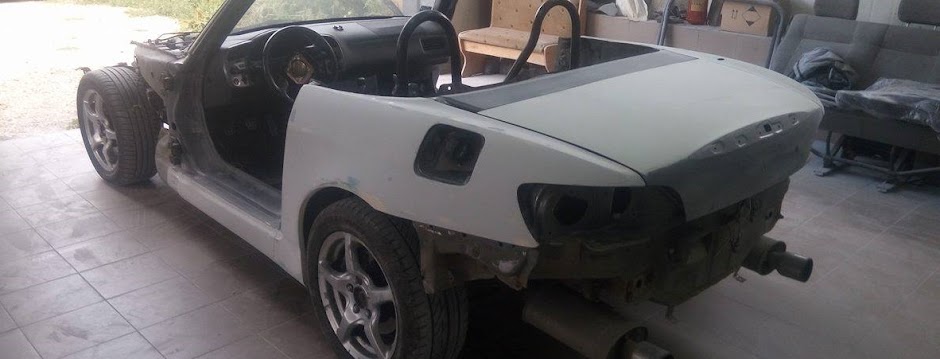
Today marks 31 days since I checked the car in for painting restoration. I forgot how an S2000 drives and I go to work by bus/taxi. That experience sucks for the most part.

Anyways, here's what happened since last post. I decided that the job done on the soft top is nowhere near what I expected from "the best customization shop" around, so I followed a friend's advice and returned it for a redo. It's good that I did, because I found out that one of my tension cables were broken.
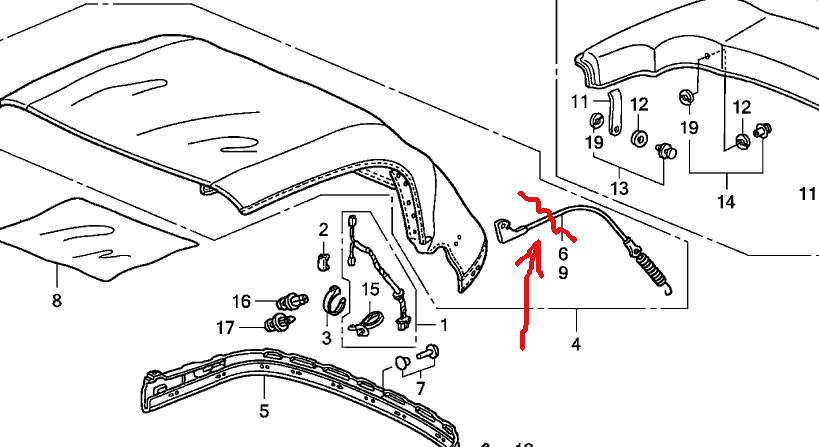
Broken soft top tension cable
There are two such cables on an S2000 and each passes through the side of the soft top cloth, just above your window, and is supposed to hold the material tight to the frame. My options are now to either get a new cable, which, including shipping to my part of the world will cost me around $50 and two weeks, or to attempt repairing the one I have. The answer is obvious.

Step one: find a similar cable. Time: 4 hours. Money: $2.
Step two: find a guy who deals with steel and nag about your problem. He will then pry open the two metal pieces on each side of the cable, put the new cable, measured to be the same size as the old one and close the metal pieces back. Time: depends on your connections. Money: $5.
Open spring side cable holder thingy
The result:

Other good news is the airbag and seat belt have arrived.

...
One week later I picked up the reworked roof.
Brought it to the base and proceeded with a nice wash, using water and dish cleaner.
It turns out dish cleaner works pretty well on vynil soft tops.

Aside from a few imperfections with the pathches, I'd say this was a pretty good day for this roof.

Sunday 21 August 2016

Week 3 (The Lego Game)

The trunk lid is adjusted to form proper spacing on either sides.
Before/after of the trunk lid

Next the bumper to fender alignments.
After/before of gap adjustment on the bumper: right
After/before of gap adjustment on the bumper: left
It is now week 3 and it's time to deal with the horrors of left-rear fender. First order of business - reassemble the doors to provide for some level of guidance while bending back the damage.
Doors and fenders reassembled temporarily to provide additional references
while straightening
This is the level of "undo" required

Pre-straightened fender
After several good hours the fender is straightened to smooth body lines.

Fender after straightening
Then all the rust is sandblasted away